Texturing the snow on would have taken some time to do due to a number of the buildings being kit bashed together and as a result me using parts of buildings at a variety of different angles so for example the snow on a ledge should be on top but if I textured it on the top of 1 building and I reused the ledge else ware in another location but turned in upside down then the snow would have been on the bottom of the ledge… Which would defy physics…
However with time running short and the decision to remove snow from this added another problem into the equation. The third scene needed footprints to give it a second element, which would have made the piece more interesting and given the piece a deeper element to it. For example footprints in the snow symbolizing someone had been there but my plan was to have both human and alien footprints and show that humans had been their but they were not along and give the piece an underlying horror element to it. But I had to abandon that due to the lack of the snow for the footprints to be in and I planed to add silhouettes to some of the windows giving you the feeling of being watched.
The second scene had the city below as that little added element to give it more of an element to be show within the city. So instead of the animation reading ‘This is an ancient alien city’ it reads ‘this is an ancient alien city, come and look at this!’
The first scene I will get to soon, as it posed problems due to me leaving it until render time as I thought of it as a small task which I could get on with while the other scene’s were rendering.
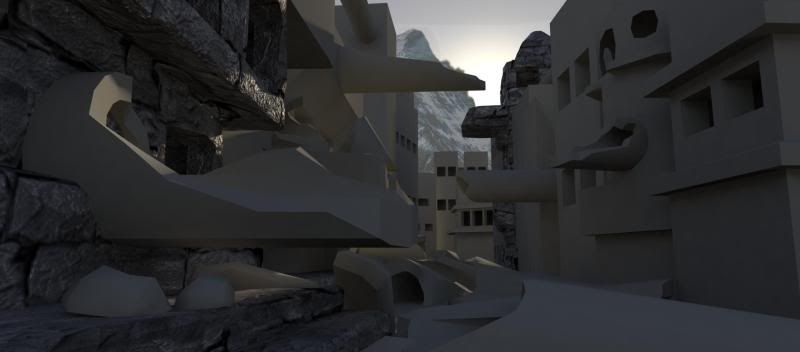
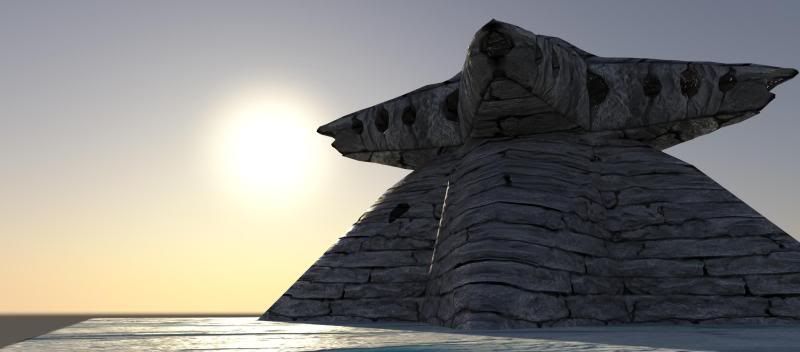
The scenes are lit with the Maya physical sun to give the scene a nice singular light source to intensify the shadows in the lower part of the city as well as silhouette some buildings creating a more dramatic effect while the buildings pass between the camera and the sun.
Anyway so here’s a few render shots while I was setting up the lighting for the scene:
- A standard software render with no physical sun or background set up
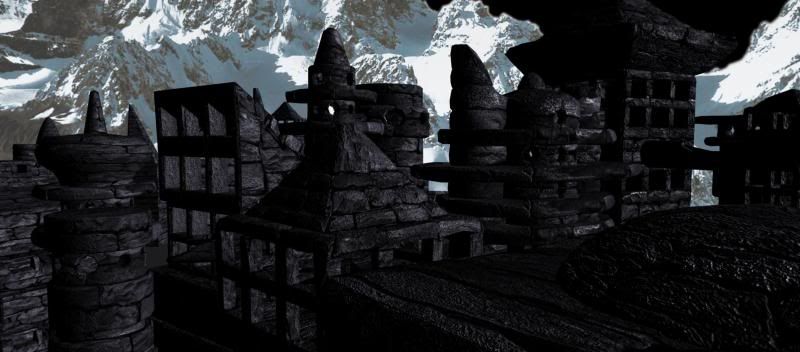
- A couple quick render with physical sun set up on its default settings, which already gives a nice finish
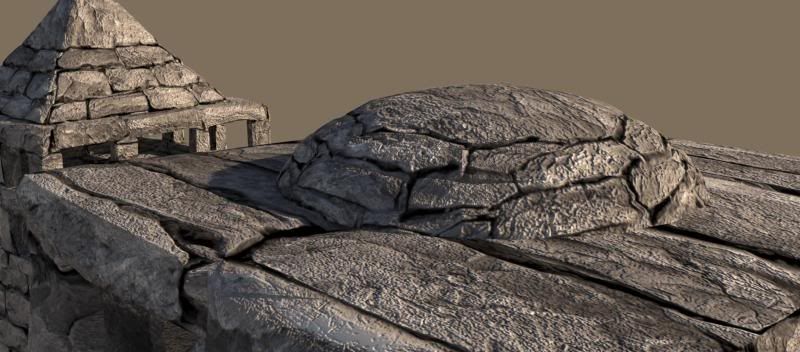
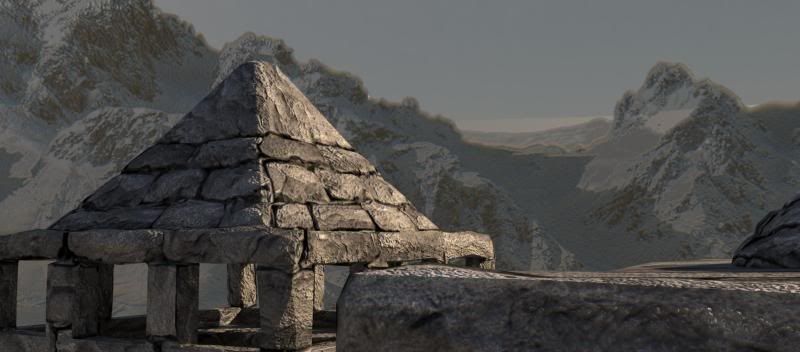
-These are a number of renders I did while tweeking the physical sun and ultimately I decided to have the sun fairly neutral as oppose to altering the red/blue shift to make the city either seem really cold and desolate or warm and inviting, so it gives the effect of it being livable in, but then the general look and state of the city give it an alien mystery to the place.

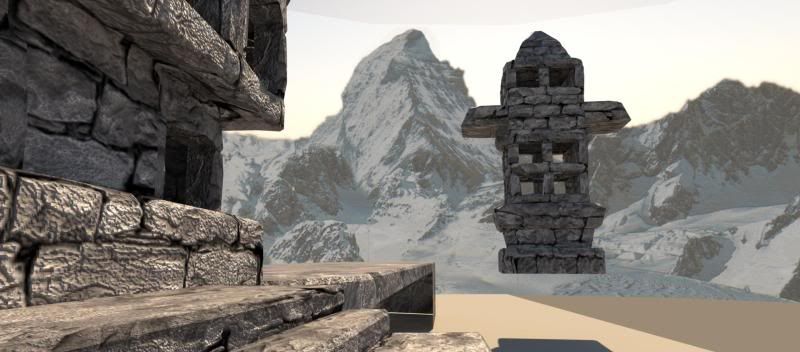
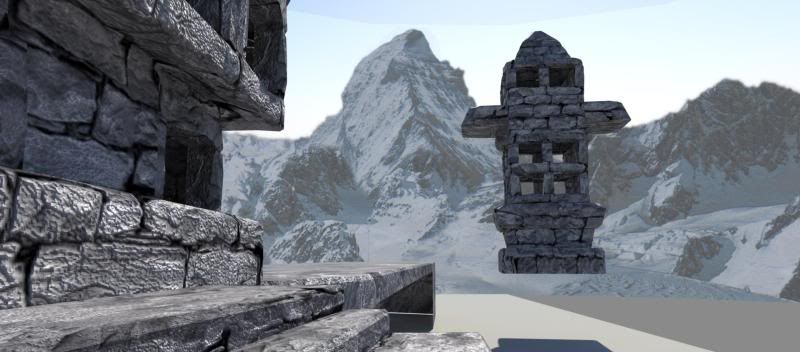
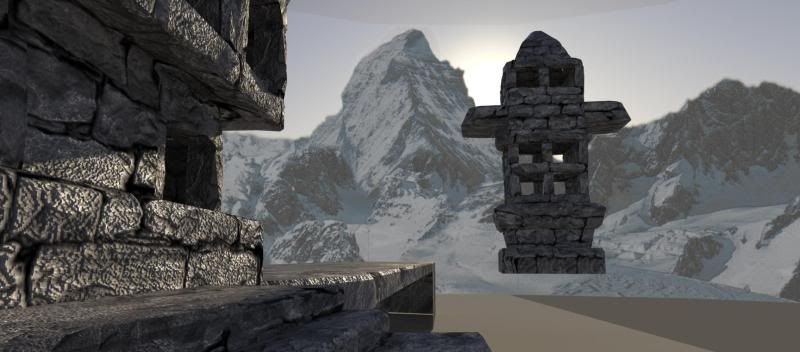
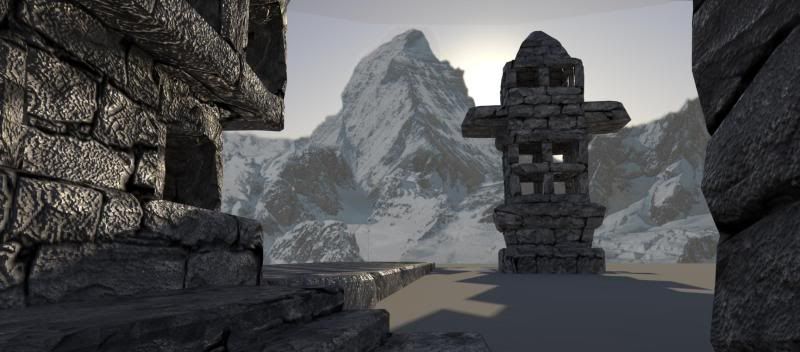
Also as can be seen from the pictures above in the background there is a distinct like at the edge of the background plain which I tried in veign to remove for hours and despite re making the textures and altering the UV’s the line would simply not budge, so in the end an extrusion and altering the UV’s to hide the line which seems to have done the trick but only the final render will tell…
And this is a little play on the 1k and 2k texture maps seeing the difference between the 2 which is very apparent with close up objects as the textures seem pixilated not crisp enough when the camera gets up close to some of the buildings:
-If you look at this then the pictures above the difference is mighty clear on the close up buildings at how much a 2k texture map is needed to give the close up buildings a more realistic appearance where as with the building in the distance the difference isn’t majorly apparent due to the distance between the camera and the texture map.
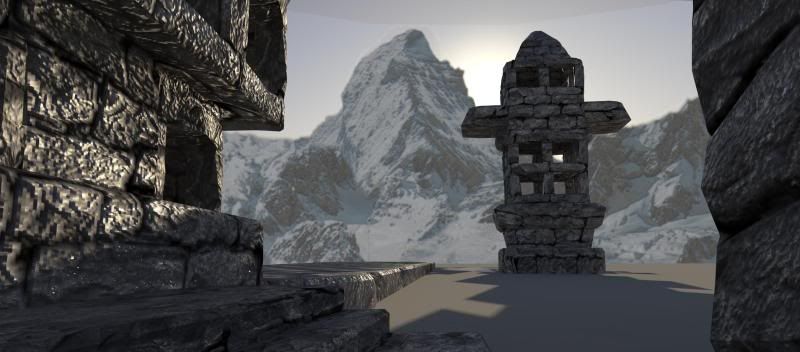
-Then this is a 1k version of the first scene and a 2k below (Minus the rocks in the foreground as I forgot to turn that layer on…)
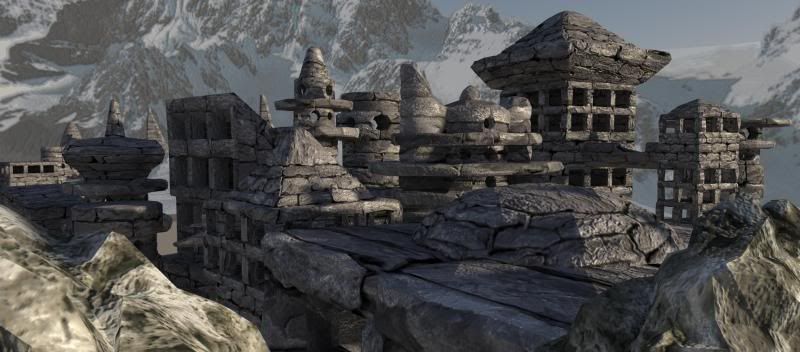
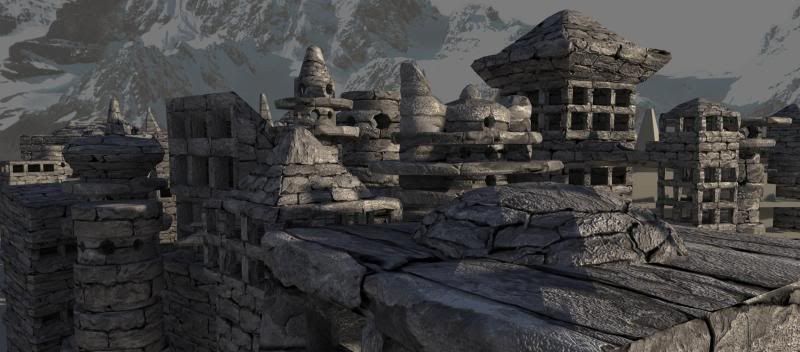
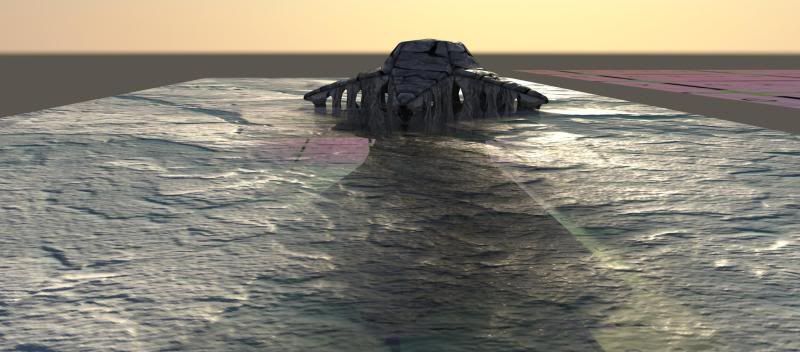
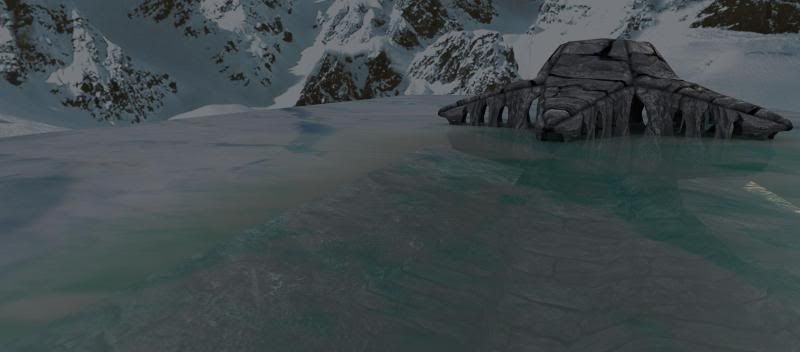
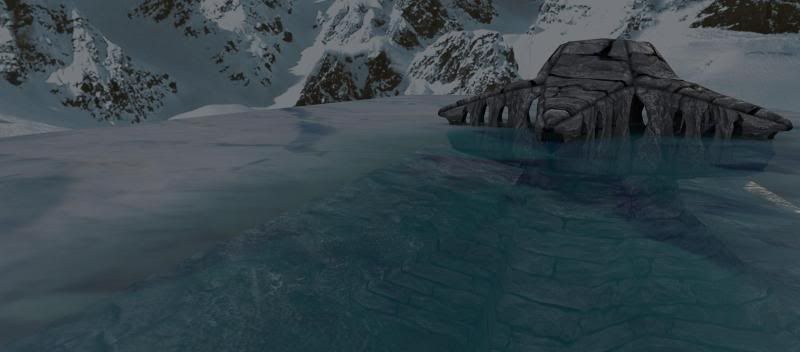
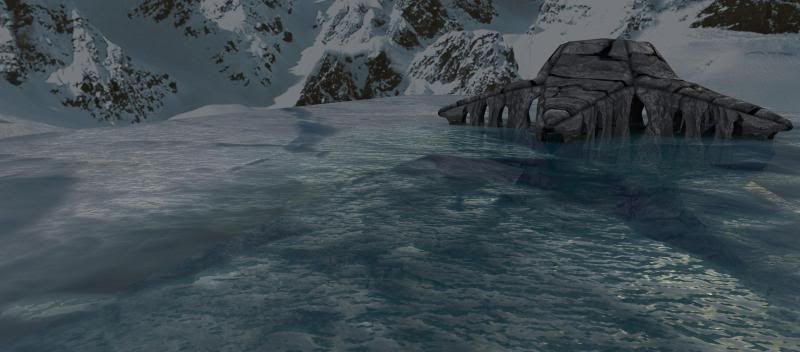
The next challenge was laying out the floor of the piece, which I ended up doing on 2 separate 3k texture maps because of the size of the plains against the quality of the 2k maps on the buildings as well as attacking the ice where the buildings can be seen through the plain.
I thought about possibly boxing in some fog to give the ice some depth and give the appearance of it getting deeper and more murky but quickly decided against it due to the extra effort and render time taken to do so. Which led me to settle on using a transparency map similar to that which I had used on the cylindrical background map on the mountains.
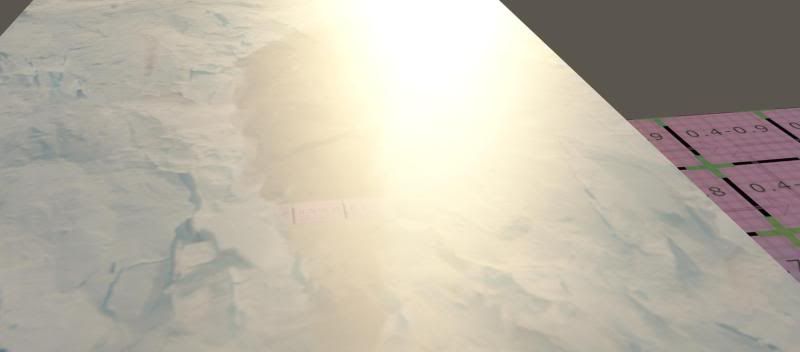
This took a fairly large amount of time to balance out the bump and spec maps on the plain to give it the appearance of being solid but still retain the transparency to enable the city below to be seen. Mainly due to the specular map blowing the transparency out of the water as such.
Here’s a few little renders of that process:
-This is with a 2k map applied but the end result is quite pixilated against the building, so I then upsized to a 3k map in the images below which still has weaker points in it but to push it any further would have brought the render to a bit of a stand still
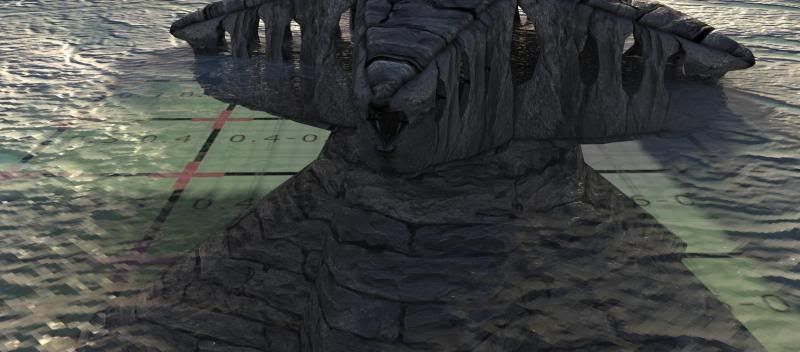
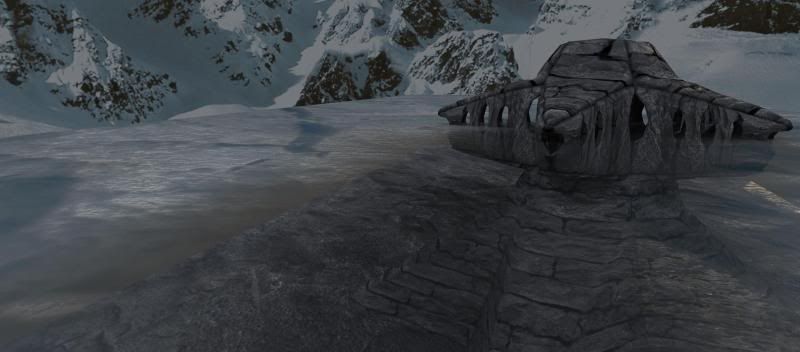
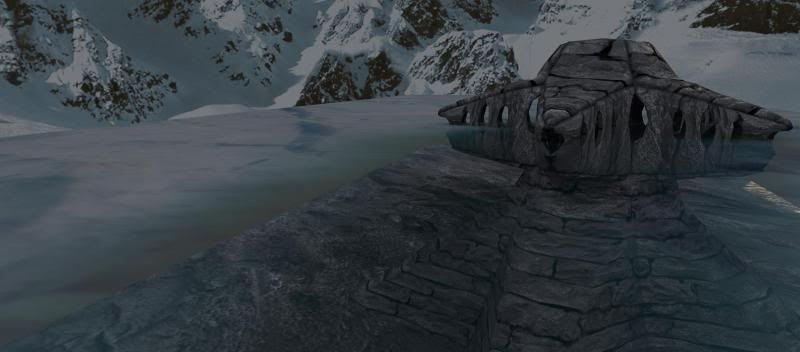

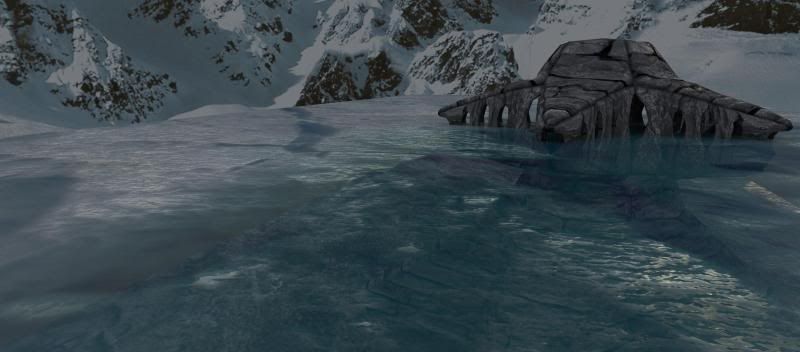

Then here’s a test render of the ice in the 3rd scene
So all my buildings have 2k texture maps etc on them then from that point I downsized all the maps to 1k then applied 2k maps to the objects that came close in to the camera and 3k in a couple of extreme cases to really large objects such as the ice and the long promenade in the second scene where the objects runs the entire length of the scene as the 1k and 2k maps wouldn’t cut it.
So I started nice and early Friday morning and got to uni finished off a few small tweaks as the CG rooms were still locked up and I couldn’t start my rendering, so set about making sure my render setting were set up right for my 2nd 2 scenes which I was planning to do while the 1st was rendering. There was a few other small elements I wanted to add into the scene such as the silhouettes in the windows of the third scene and a flickering light like a torch light in one of the buildings as if someone below was shining a torch up inside the building looking about, then headed through to the CG room when it was opened up.
My overall plan was to simply complete a beauty pass on all the scene’s despite wanting to do an ambient occlusion pass on each, as well as a shadow pass which would have enabled me to have a little more control over my final result. However with little time left due to time constraints this wouldn’t have been possible so I decided to settle for pure raw mental ray without to much composting in the end process.
However as is always the result in a time known to me as the 11th hour (not sure why its called the 11th hour, but it just is and is also know to many as crunch time as well) I set up camp on a few computers loaded my work onto the desktop began rendering. I sat trying to set up the torch light in the first scene, which I thought of as being a quick job. However due to somehow not being able to break the connections between the light and the buildings other than the one the light was shining inside in my scene I came back an hour and a bit later to check on the renders and nothing was happening. Mental ray had just been sitting there calculating, but not pumping out anything. At this point I made a bit of a rash decision.
My last project last year was a complete disaster due to the textures and geometry amongst other things being too much for the computers to handle and the lack of rendering that happened. So I was determined to not let that happen again, therefore I reverted back to an old maya document which just voided roughly my last 6-8hours work, with full 1k texture maps applied to everything, I then went back thought the document and updated the textures on the very large geometry to larger files but wanting to keep the texture size down I did it as sparingly as possible, then set them rendering and give myself a little break due to the stress of just backtracking and downgrading my work which I was so please with a few hours before.
This time I came back to check on it and it was rendering good and steadily but to my horror when I opened up the image folder that maya was rendering it was rendering black images!
I stopped all the renders once again and found the route of the problem, which turned out to be the old file had the setting set up to my computer at home and despite setting the correct project before starting this second render the texture files disappeared after the first few frames of each render. At this point I felt really dishearten and set up al the texture, bump and spec map files by hand reloading each individual one. Then I took the entire project file and copied it to each of the other PC’s I was using to make sure everything came out the same, while setting up the render settings again and eventually setting the renders going.
From this point I felt defeated, but I kept checking back on my renders regularly and seeing the very slowly progress. The lighting sadly seemed to have altered itself, which I didn’t realize until the scenes started to get further into the render but I didn’t, wasn’t to stop them rendering and start again so I just let them trawl on.
I’m now sitting on a rather sluggish, tiny-screened old computer, which lives, in my study while trying to get some blogging down despite epically slow progress due to my own computer trying to punch out a render. I set PC’s at uni rendering my first 2 scenes and left them to come back Monday morning to hopefully find them crunched out nicely. Then I set up my own computor to render yesterday while I worked all day yesterday at my job. Despite it having 15 hours of time to render it still only managed a bit over 150 frames of a 350-frame animation done though. So it’s spent all night rendering as well and I was quite disappointed with the results in comparison to the 2k versions which I had previously been staring at renders of for the last few weeks. So again it felt like a kick in the groin because it seems to be deteriorating in front of me. It has also come out somewhat flat as well in comparison to the 2k version which had a lot of nice bumping and specular highlights on it that the higher quality maps gave it which in term upped the level of realism of the piece.
However there is a possible upside to this as I reverted back to an older file I had gone back to an older camera, which I had since altered to extend the animation out. But this older file still had a shorter animation on 2 of the 3 scenes as I had altered the newer files so the camera started at moving at frame 25 and finished at frame 375. Where as the older ones started moving from 0 going through to about 220 at the smallest then about 280 and 350 on the other 2.
So its cut my amount of scenes down enabling me to render less and I can take the first frame of each animation and cycle that image to give the 25frame pause on each animation in Premier.
So with that in mind I thought this would be a good point to drop in a couple of playblasts of the animations before I reverted back to the older Maya file.
*But where my PC is rendering I can’t open up Premier to edit them into an animation so it’s going to have to wait until rendering is over and done with… *
With this slight cut down of frames I decided to have a little experiment with render layers to try in vain to save what little of the project I was left looking at and take the blandness of the piece and give it more punch. I also found about setting up a gamma node and plugging into each texture, bump and spec which I previously had no idea about to give the Maya physical sun more realism. However at this point its to late to go back over and do this so I’ll keep that in mind for the next project which will hopefully enable me to give my work more realism without needing render layers as much.
I’ve never used render layers before on a project, although I’ve watched a Gnomon DVD, which went through compositing in Shake. However due to not having Shake I was a little baffled, I’ve also got a couple of DVD’s which I’m borrowing from uni on how to composite and light scenes but due to the Gnomon DVD’s being so n depth and thourgher as well as taking a long time to watch. At this stage of the project I don’t have time to watch them so I’m forced to go in relatively blind, other than an old tutorial I did on how to render in layers but composite in Photoshop and I’ve not got much compositing experience so I’ll just have to make the best of what I can using after effects which is still a bit of a mystery to me…
However on the up side of everything I rendered a single frame in a shadow and a ambient occlusion pass just to se what I could make of it in Photoshop and the result is better. The shadow pass is very quick, however the ambient pass is as slow as the full render itself, so therefore I’ve set a full ambient batch render of my second scene going as in my opinion it is the most impressive of the 3 and if it’s a choice between getting that one looking the best and chancing it a little with whether the renders at uni are running ok and will finish or rendering an ambient pass for the scene I’ve got sitting on my home computer I’d rather take the risk as I want to get the best out of the project I can. Also the second scene is bay far the darkest due to how hemmed in my buildings it is so therefore if any scene needs it most my bet is that it’s that one.
I’ll post up the composite picture I made testing the render layers at a later point as it’s on my other computer, which is still rendering…
Also with my pc currently struggling to render I can’t jump on after effects and have a play so once I’ve finished blogging this I’ll YouTube it up for some tutorials and see if I can get my head about it a little on this laggy little beast of a computor…

No comments:
Post a Comment