Providing your not me...
As then it's a time for texturing!
Ok so no updates for a while.
Sadly I’m not flying ahead, but I kinda predicted that but I’m beginning to pick up the pace and my work is to get kit bashed to bits.
By this I mean me stealing all the previous modelled buildings with the textures and UV’s laid out on them and dropping and chopping them to bits to make new buildings.
Heres a few random screen shots:
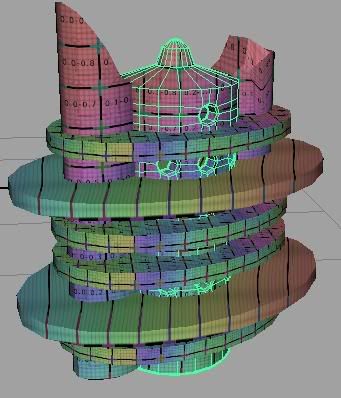
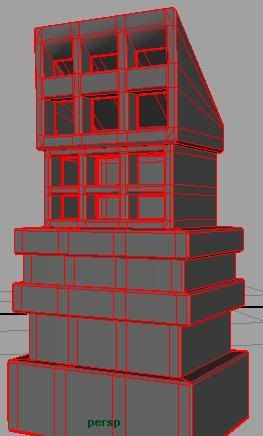
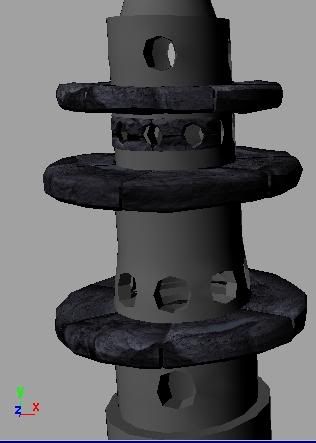
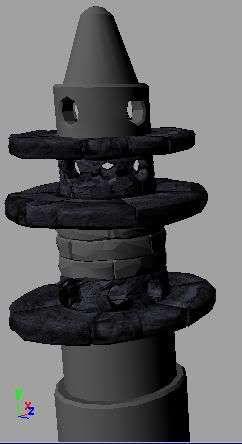
And a little render to :P
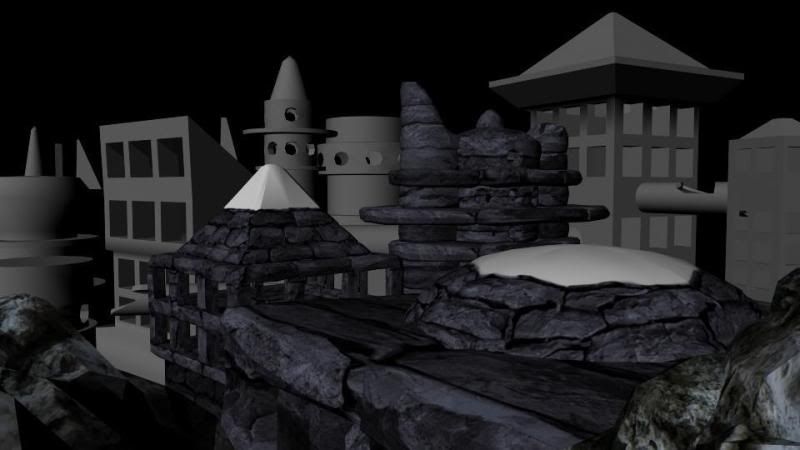
As modelling detail into a blocky model followed by laying out all the UV’s then texturing multiple bricks on to make the brickwork fit the shape of the structures is a massively time consuming process and If I was to do this for all the buildings individually it would literally take me like 6 months...
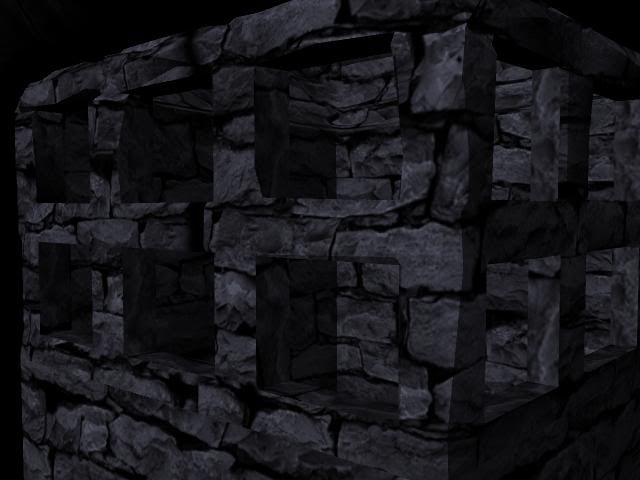
For example if you look at these rows of windows having just stripes of brickwork looks rubbish because there’s simply a texture chucked on there not edited to fit the layout and architecture of the piece:
Whereas this piece looks far more in keeping with the megalithic structural integrity of the piece:
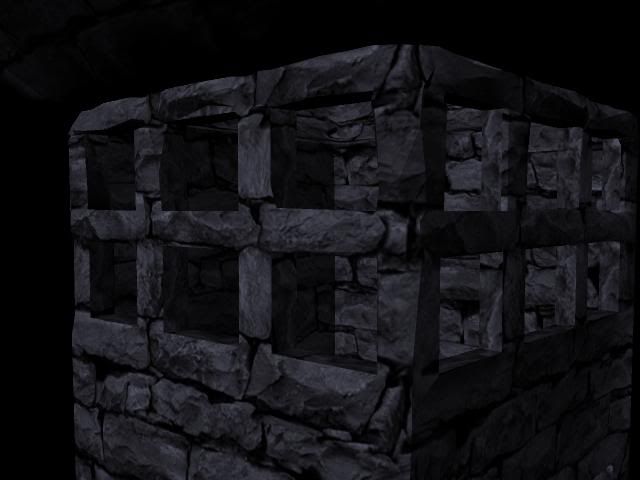
So that’s why it’s taking so long to lay out all these building textures... :P
Anyway I went back and added bump and spec maps to the buildings I’d previously made which gave the piece one hell of a lot more realism,
With regards to how do it for Dan who posted up for help on his blog or any first years or anyone else that wants to know who want to know for that matter, how to do it here’s how:
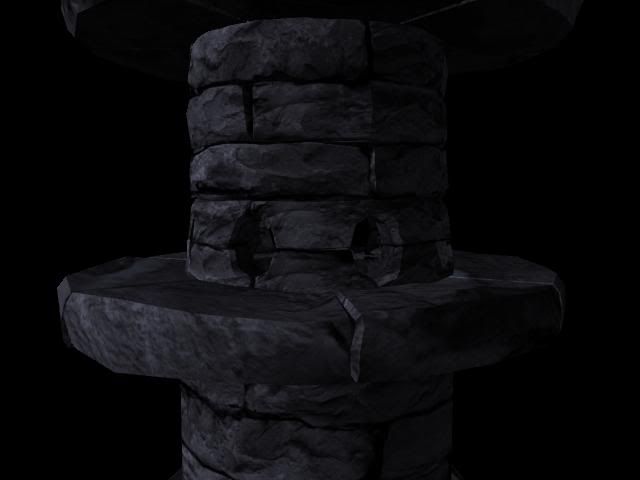
Ok so lets imagine you’ve laid out your UV’s and got a nice texture map made up, like so:
Texture map
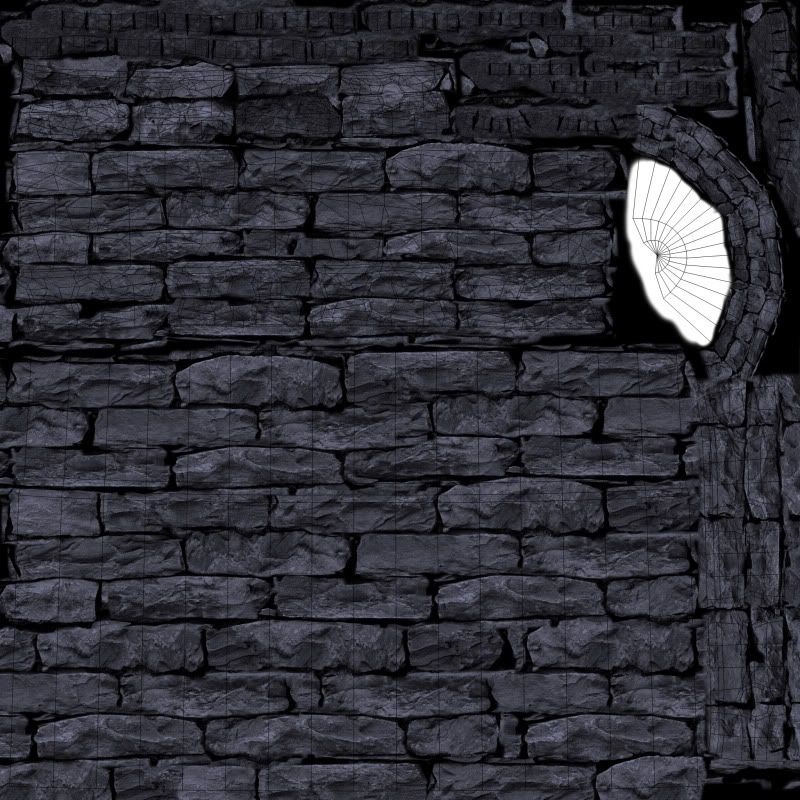
Texture on your object in this case a Lambert shader with the texture assigned
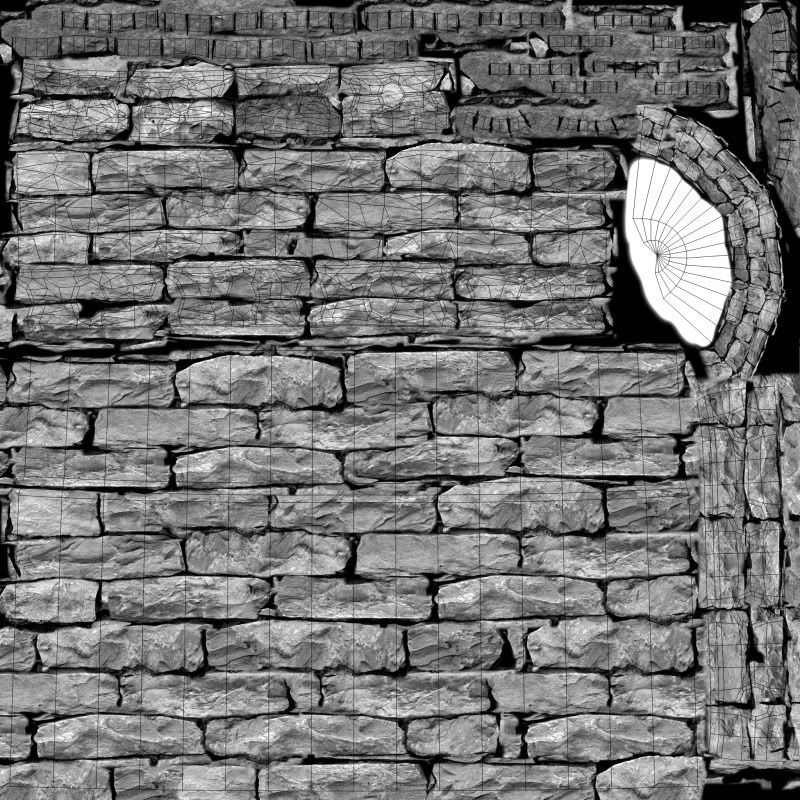
Take your texture map and dump it in photoshop
Go: Image > Adjustments > Desaturate
That turns the file picture greyscale without turning the file into a black and white file
(Maya needs to read it as a RGB image)
Next use: Image > Adjustments > Levels
Tweak the image to suit however you want it to look
(Baring in mind: Black = Sunk in, 50% grey = Standard level, and White = Bumped out)
So you should end up with a grey image with highlights and low lights pretty much.
Then save it and plug it into the bump channel on your shader and tweek the bump depth normally around 0.1 is sufficent (At this point I swapped the Lambert for a Blinn)
Blinn
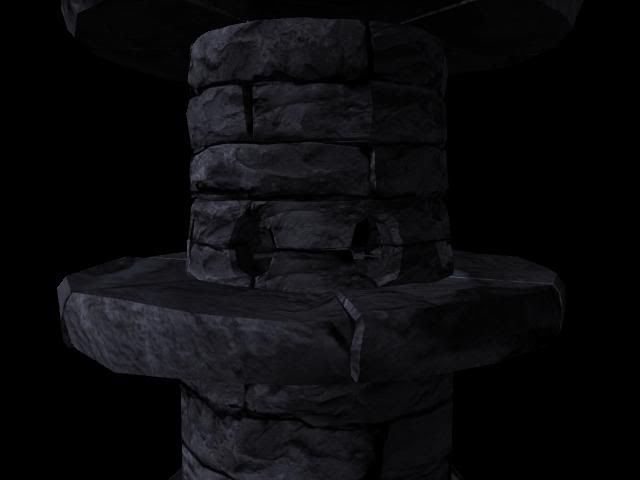
Blinn + Bump
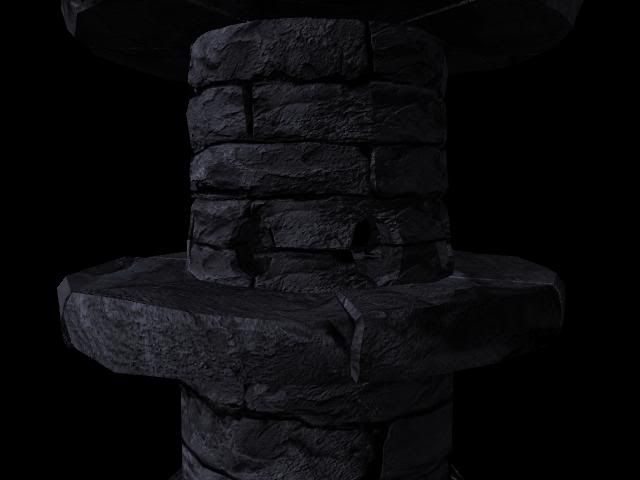
Next take your bump map and dump it back in photoshop
Go: Image > Adjustments > Levels
Again and then tweak the image to suit however you want it to look
(Baring in mind: Black = No Specularity, 50% grey = 50% , and White = Full specularity)
This time you should end up with a fairly contrasty image or at least I did coz it suited my building
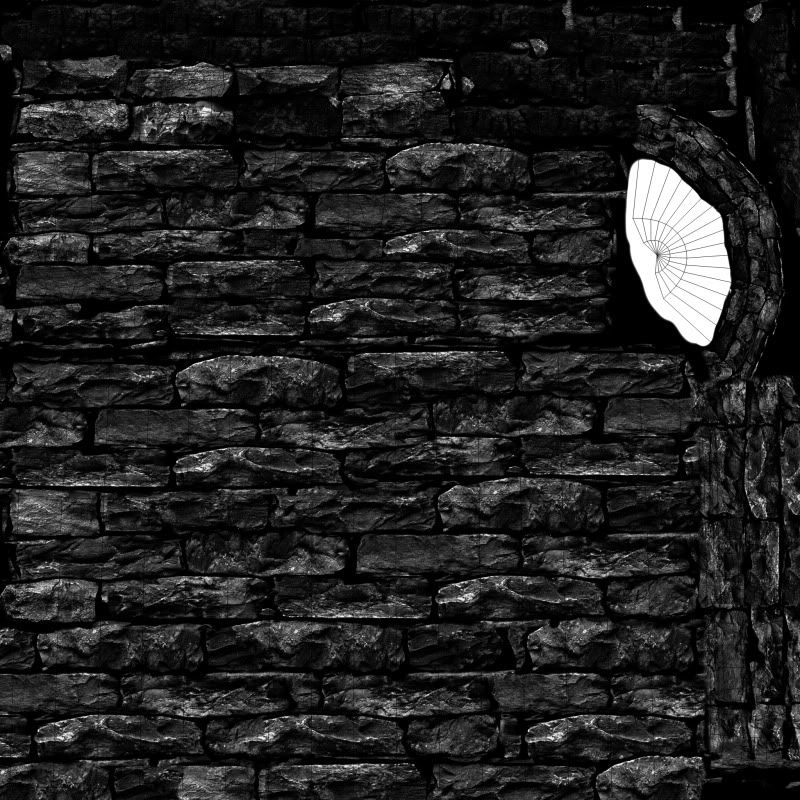
Save the spec map.
Next if you’re using a Lambert shader switch to a Blinn it to open up the Specularity tab in the attribute editor under your shader and plug the spec map in to the Specular colour channel and you can play with the eccentricity and spec roll off to get the effect your after
(But I haven’t played with them yet :P)
And your piece looks a load more realistic etc
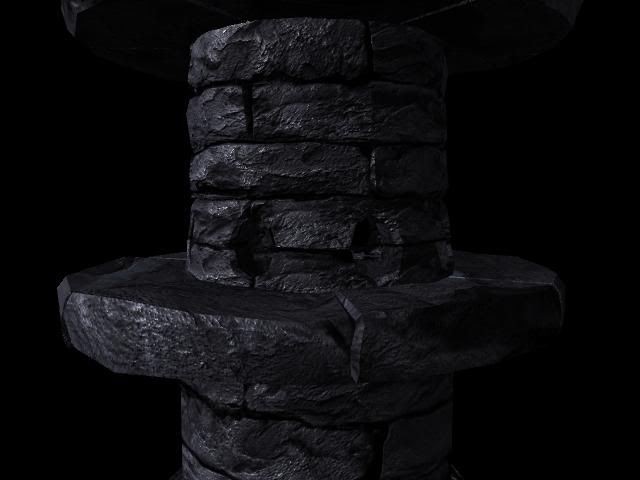
Here’s some renders of the city being textured:
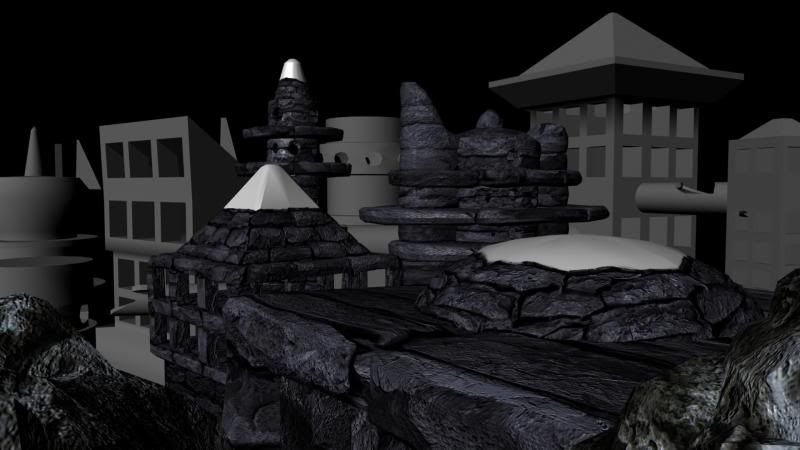
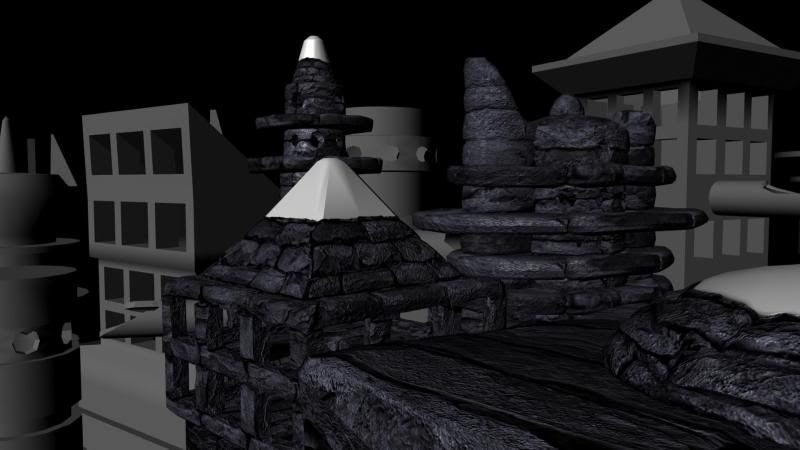
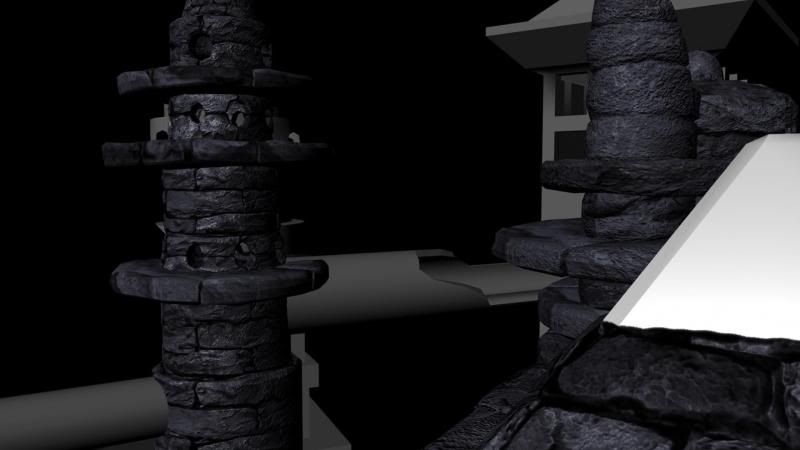
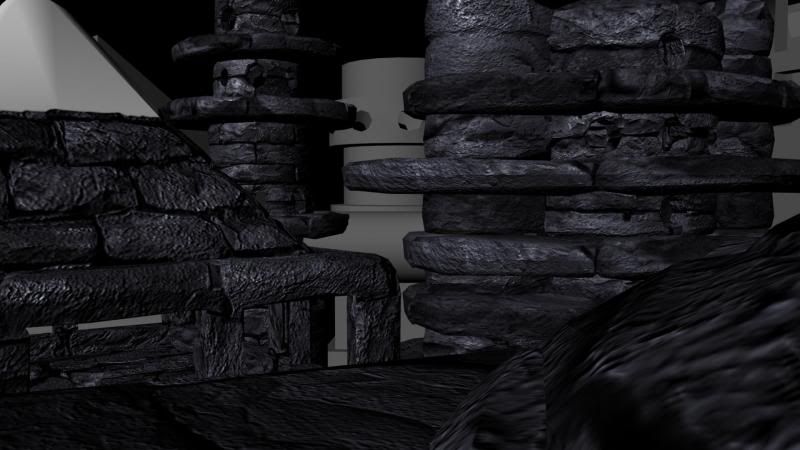
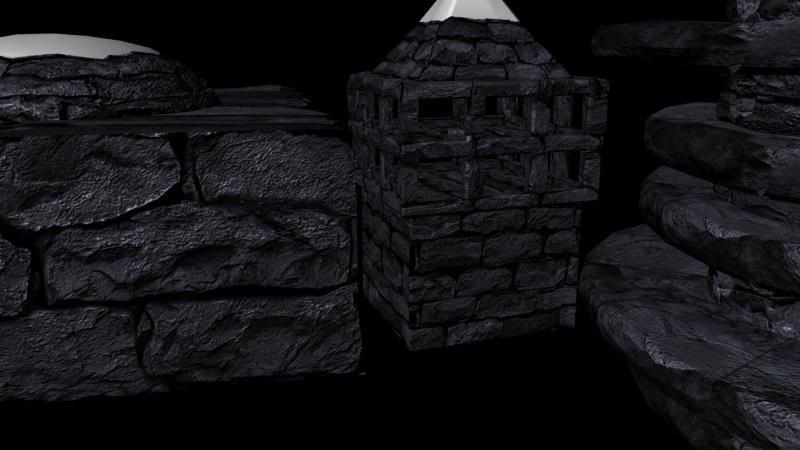
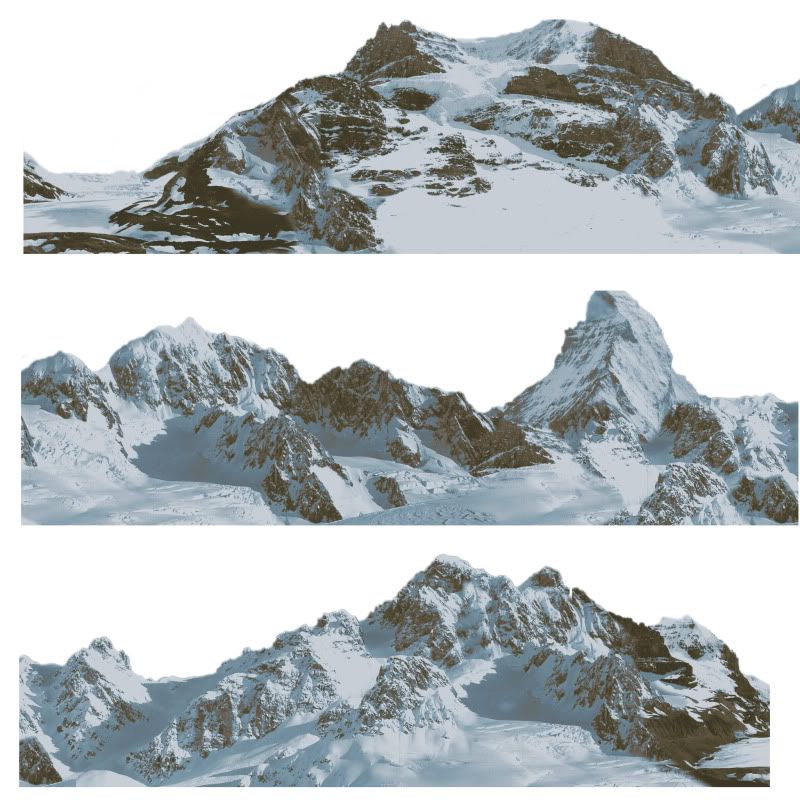
Next step after adding spec and bumps to the previous stuff was add mountains as I was fed up of having no background to look at for reference and composition
So I made one from high quality mountain pics i hunted down (I’ll accredit the people and places the pics came from soon when I get a chance that is) :P
Anyway made this mash up and used a transparency layer on it in maya :)
Then after that I’ve just been kit bashing texturing the life out of myself
Even worked some of Christmas day...
So my Christmas has basically been spent modelling detail, laying out UV’s and texturing...
FUN... :P
So the first scene is nearly texture and I’ll move onto the second by tomorrow hopefully :)
Here’s a few more little renders:
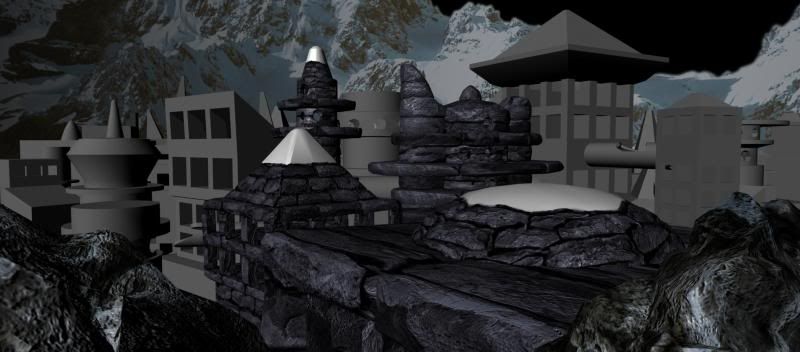
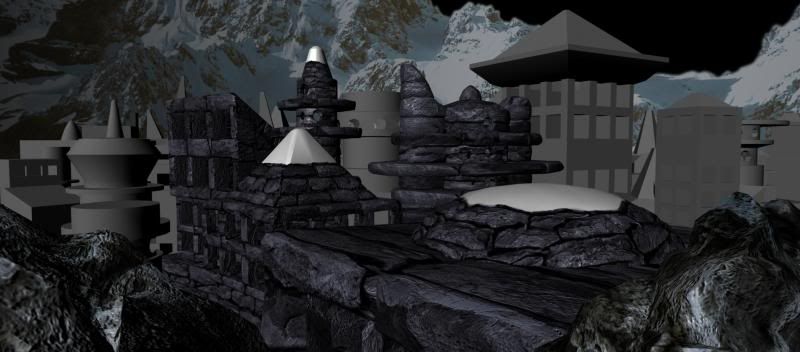
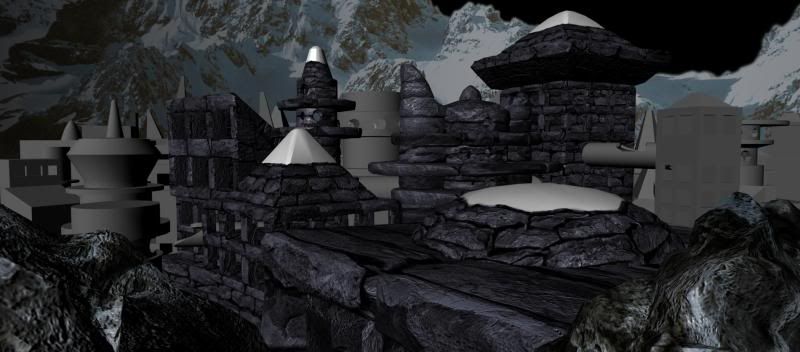
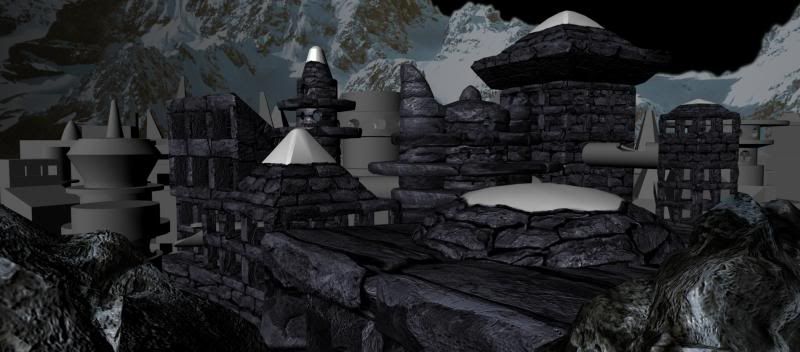
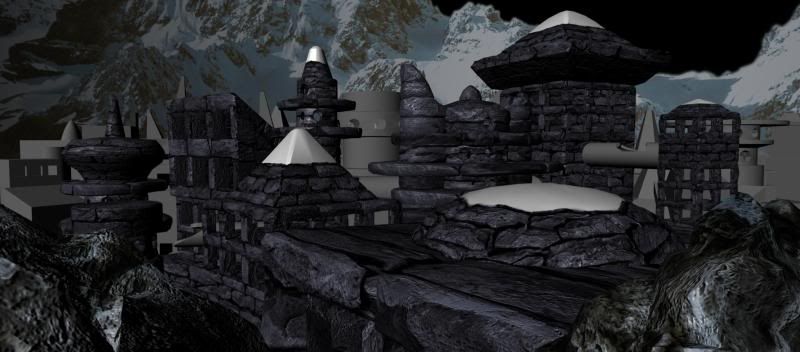
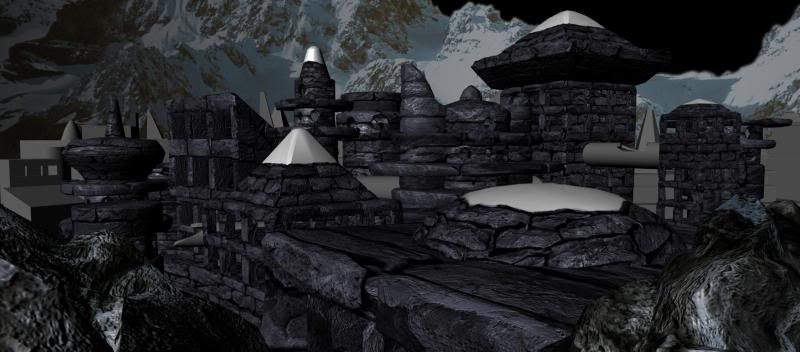
So pretty much I need to pick up the pace but I’ve got a week off work so I’m going to spend it working like a dog on getting the this done to death
I’m also considering going back over the textures and painting snow on before starting texturing the second scene?
Maybe?
We’ll see what will happen :P
I would be so wikid to be further ahead with this than I am though...
Still got to light the bad-boy and composite it to...
lol fun! :)

No comments:
Post a Comment